
You’ve been wearing your hearing aids and enjoying the birds chirping, the bells ringing, and participating in conversations with those you love when suddenly all those wonderful sounds are gone. Your hearing aids have stopped working and you’re left feeling like you are missing out on the world around you. Before panic sets in that your “ears” are gone, let’s talk about some common issues that are likely to occur and how to do some hearing aid troubleshooting!
Okay, this one might seem obvious, but we’ve all had those moments where we frantically search for a complex solution, only to find out that the simplest answer is the right one.
First things first, make sure your hearing aids are turned on! If you have traditional batteries, try popping in a new one just to make sure. If you wear rechargeable aids and are near your charger, stick them in the charger for a couple minutes.
Be aware that sometimes the charger can be the issue in that it doesn’t work. Make sure the charging lights on your aids and on the charger are turning on and not flashing red!
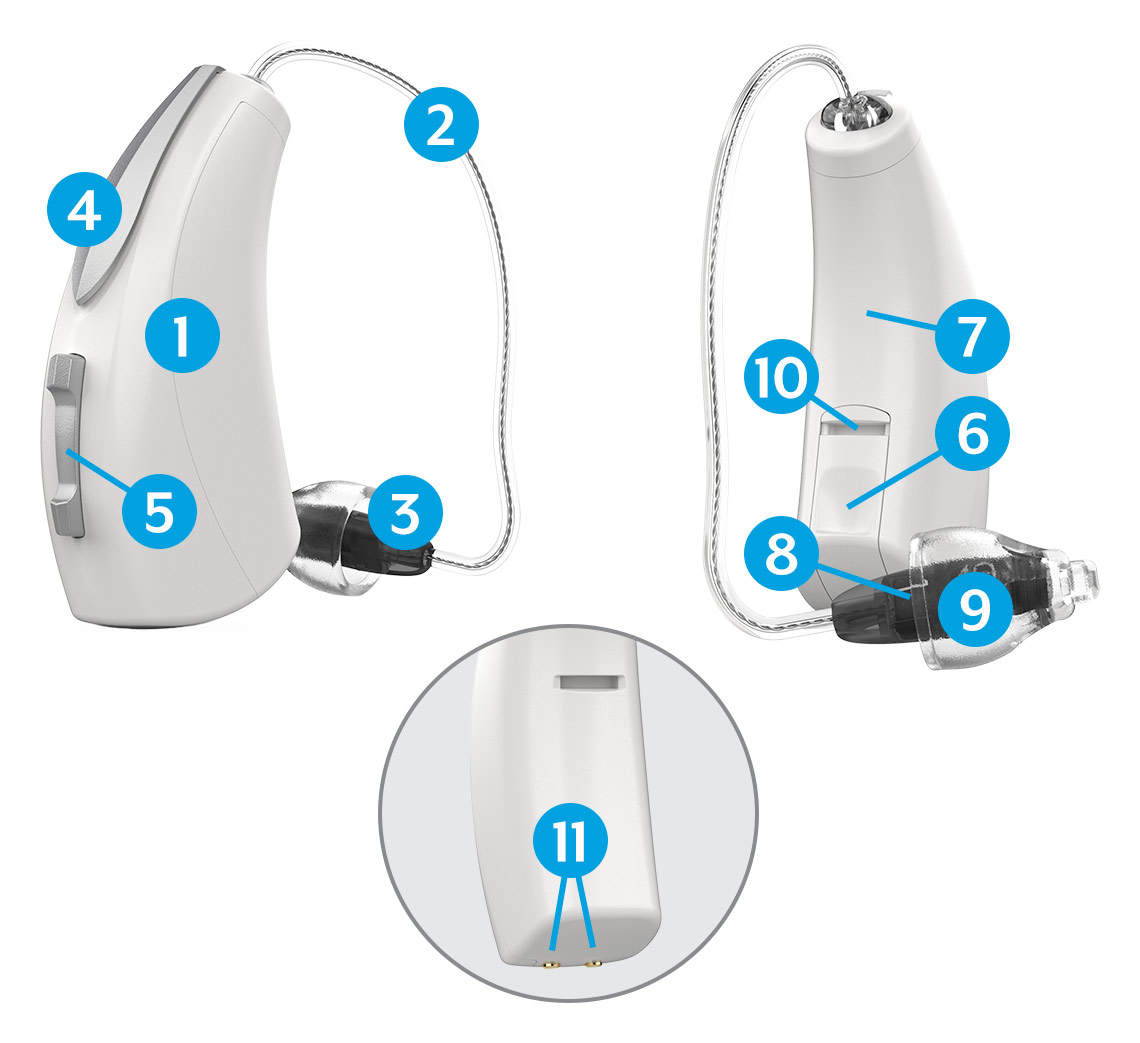
Our ears are fantastic self-cleaning machines, but sometimes they can produce a little too much wax or wax that gets in the way of your hearing aid. If you’re experiencing muffled or distorted sound, it’s worth examining your hearing aid for plugged wax build-up. One of the most common issues we see at Hears to U, Hearing & Hearables is a plugged wax trap. Sometimes called a wax guard, wax filter, or wax trap. These little white plugs are designed to catch any excess wax and be changed out over time or when they are plugged.
If your wax guard is doing its job catching all that wax, the trap can become completely plugged. Once it’s plugged no sound can pass through and you can’t hear! So always make sure to check under your rubber ear tip or at the end of your custom earmold to see if the little white donut-looking wax trap is full. Even if it doesn’t look full and you don’t see “wax”, there still may be some as it is so small. Better to change the guard before you move on to the next step.
There are many different kinds of wax traps that vary based on the brand and model of hearing aid. We carry a large selection you can check out here! If you are not sure which one will work with your hearing aid please reach out to us and we can help make sure you get the wax guard you need 🙂
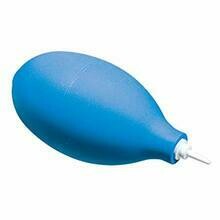
Although hearing aids that go behind the ear are built to be quite durable, they are still prone to issues. Sometimes the microphones can get filled with debris, causing amplification to be weak, distorted, or gone altogether. If you’re having any issue with your hearing aid it is always good to give it a thorough cleaning. Using a little hard-bristled brush you can brush out the microphones on your hearing aid to remove any debris. It is important to clean your microphones from time to time regardless of if you are having issues so that debris doesn’t build up. When you aren’t hearing well this is another important hearing aid troubleshooting step to follow before you worry!
Most hearing aids come with a cleaning brush and kit, but if you don’t have one we recommend this easy to use Hearing Aid Cleaning Kit.
Hearing aids and their components don’t like moisture. Moisture can accumulate inside hearing aids due to factors like humidity, sweat, or accidental exposure to water. This moisture can damage the delicate electronics of the hearing aid and affect its functionality. Some of the behind-the-ear style hearing aids are “waterproof”. However, we have seen “waterproof” hearing aids get wonky and not work due to moisture. The best way to deal with this natural exposure to moisture is a dehumidifier!
Do you own a dehumidifier? There are different kinds of dehumidifiers, but the most commonly used are either jar style dry-aid kits or electronic active drying.
Dry-aid kits are compact and portable options for removing moisture from hearing aids. These kits usually include a drying container or jar with a desiccant, as well as other accessories like cleaning tools. Users can place their hearing aids inside the container overnight to dry them.
For these type of Dry-aid kits we recommend Audiologist’s Choice or the Zephyr Dry and Store.
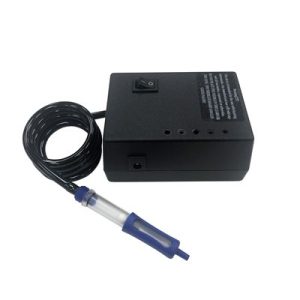
Electric dehumidifiers use heat or a low-power electric fan to remove moisture from the hearing aids. The devices are usually small and portable, allowing users to place their hearing aids inside the dehumidifier overnight for drying. Sometimes these kinds of dehumidifiers also include a UV light to sanitize while they dry.
Some great electric options are the PerfectDry Lux or PerfectClean.
Although both options help combat moisture, we recommend using electric active dehumidifiers as we believe they are the best at fully drying out hearing aids in-between wears.
Some brands even make chargers that include a dehumidifer, like the Widex Charge N Clean or the Signia Dry&Clean Charger.
You have done all the above and your hearing aid still isn’t working… now what? From here we want to break it down to the style and type of hearing aid you wear, such as a behind-the-ear style or an in-the-ear style. Please find your style and read for more hearing aid troubleshooting tips and tricks. If you don’t know your style feel free to reach out to us, show us a picture of your hearing aid and we will guide you.
If you wear receiver-in-the-canal hearing aids, the next most likely issue is that your receiver has gone bad. The little wire (called the receiver) connects the behind-the-ear portion of your hearing aid to the in-the-ear portion. This wire is what receives sound from the microphone on top of the hearing aid and sends it to the speaker that sits in your ear. These little wires are prone to damage from moisture and wear over time, but luckily are easy to replace. This can be done in the clinic.
Call up your hearing healthcare provider to see if they can change your receiver for you. We also sell replacement receivers for most hearing aids on our online store. If you aren’t sure what you need, you can always reach out to us for help!
Custom and ITE hearing aids can be the most finicky. Since all the components are in the ear, they are especially prone to issues from moisture. We recommend to all our patients that if they wear an ITE they should get an electric dryer or dry-aid kit to put their hearing aids in each night.
This type of hearing aid is also susceptible to wax and debris issues. Like we mentioned above, it is worth having a hearing aid cleaning kit with different brushes to brush the mics frequently. There are also hearing aid vacuum cleaners that can really deep clean out those microphones!
When all else fails, these custom-in-the-ear models of hearing aids probably need to go into the clinic.
Although standard Behind-the-Ear hearing aids with tubing are usually the most durable of the hearing aid types, they can still have some issues. The tubing on these hearing aids will become hard overtime. When the tubing gets hard the sound doesn’t pass through as efficiently and you might not get any sound at all. Hearing healthcare professionals typically perform tubing replacements in a clinic, so it is advisable to schedule an appointment to see them.
Another common issue with BTE style hearing aids is the hook going bad. The hook is what connects the behind the ear portion of the aid to the tubing and helps transmit the sound. Sometimes the hook can get debris in it, or it may become lose or fall off completely. Luckily, a hook replacement is an easy fix in the clinic as well!
Dealing with hearing aid troubles can be frustrating, but remember, you’re not alone! By following these simple troubleshooting steps, you’ll hopefully be well on your way to restoring all those soft sounds you’ve learned to enjoy 😊
If these steps don’t fix the issue, please call us in Hopkins, Minnesota and we will try and help you figure out what to do next.
Thank you for reading,
Powered By SinglerDesign.com